
All bloggers know how important photos and all kinds of images are for your blog posts. When you spend lots of time perfecting them, you really do not want someone else to copy your work. Previously here on the DB Blog, we posted a tutorial about right-click disabling to protect your images. In addition, you can make the Blogger images unclickable. This helps to keep readers from taking your images
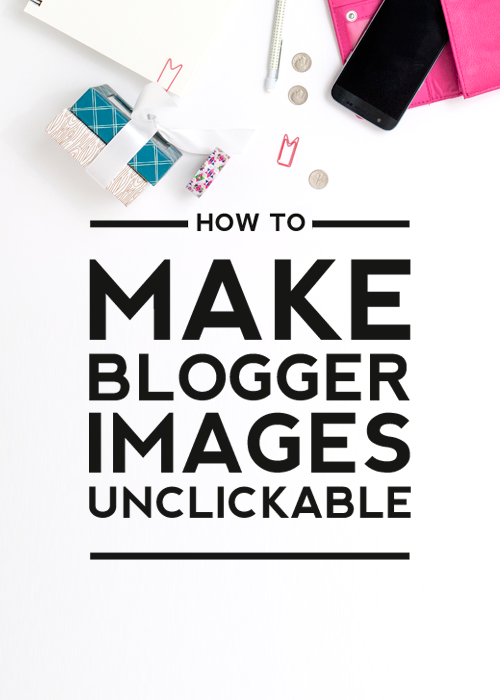
Making Blogger Images Unclickable
Even after disabling the right click on your blog, readers can still click on your image, enlarge it, and save it. Well, I was running into this problem on my personal blog and wanted to find a solution. So today, I thought I’d bring you a tutorial that fixes the problem! Blogger now makes this super simple.
Here we go:
#1 Create or Edit your Blog Post
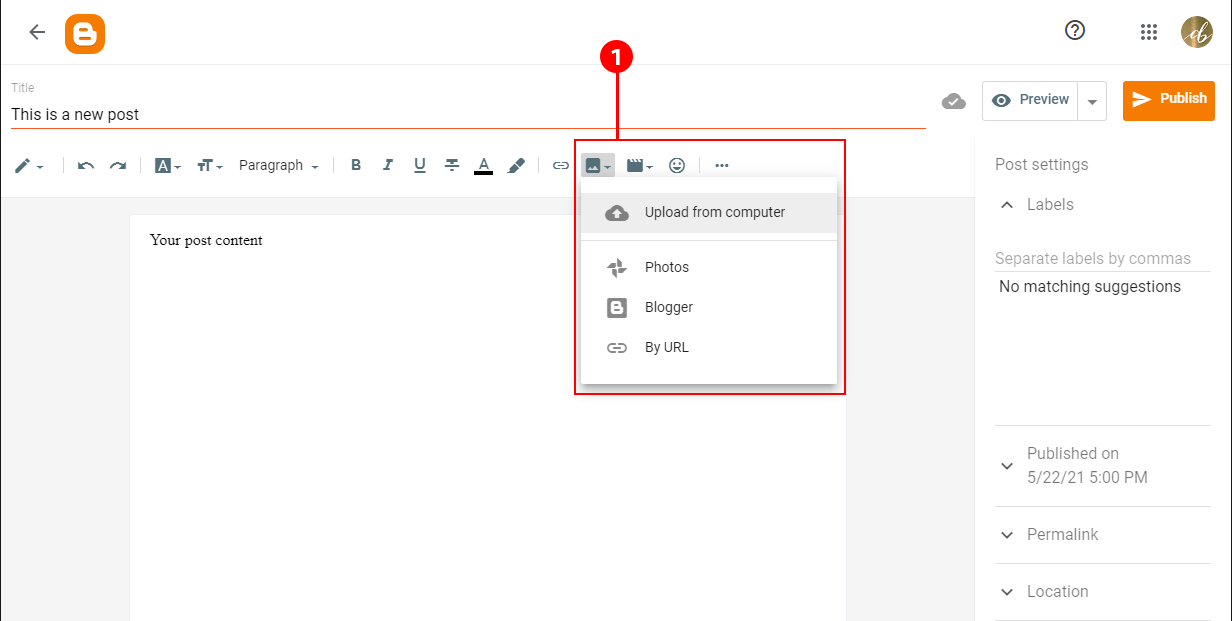
Open up your post editor and create a new post and add an image. You can also edit an already existing post if you want to edit photos that are already posted on your blog.
#2 Pick the image
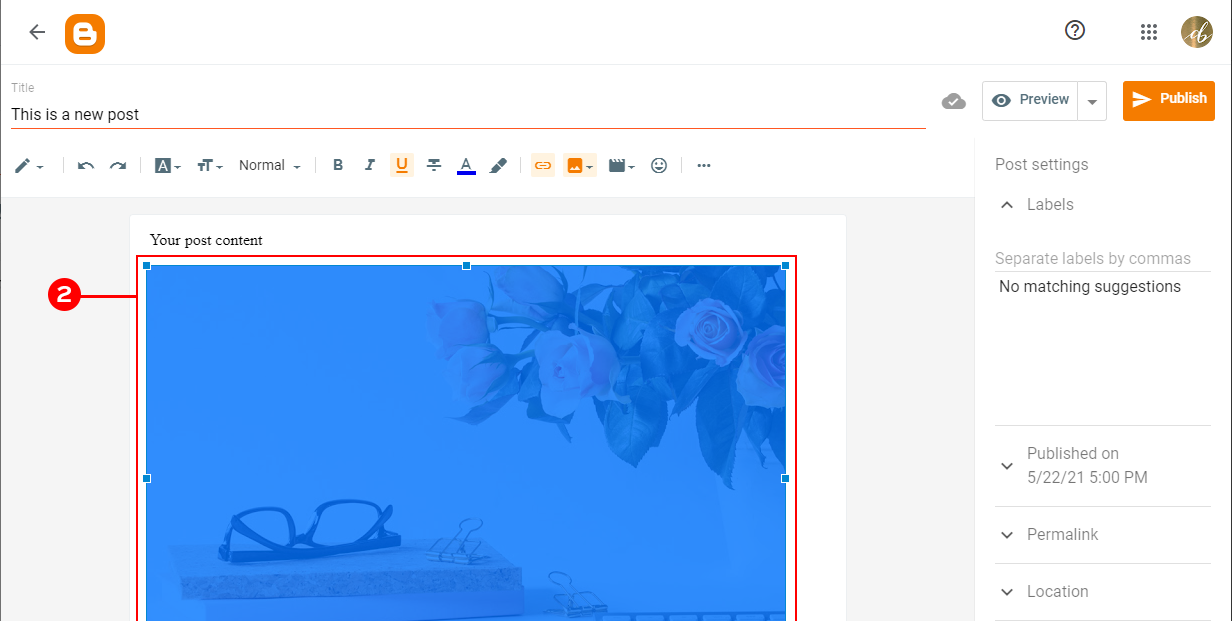
Click on the image you just added (or one you want to edit). This will highlight the image.
#3 Remove the link
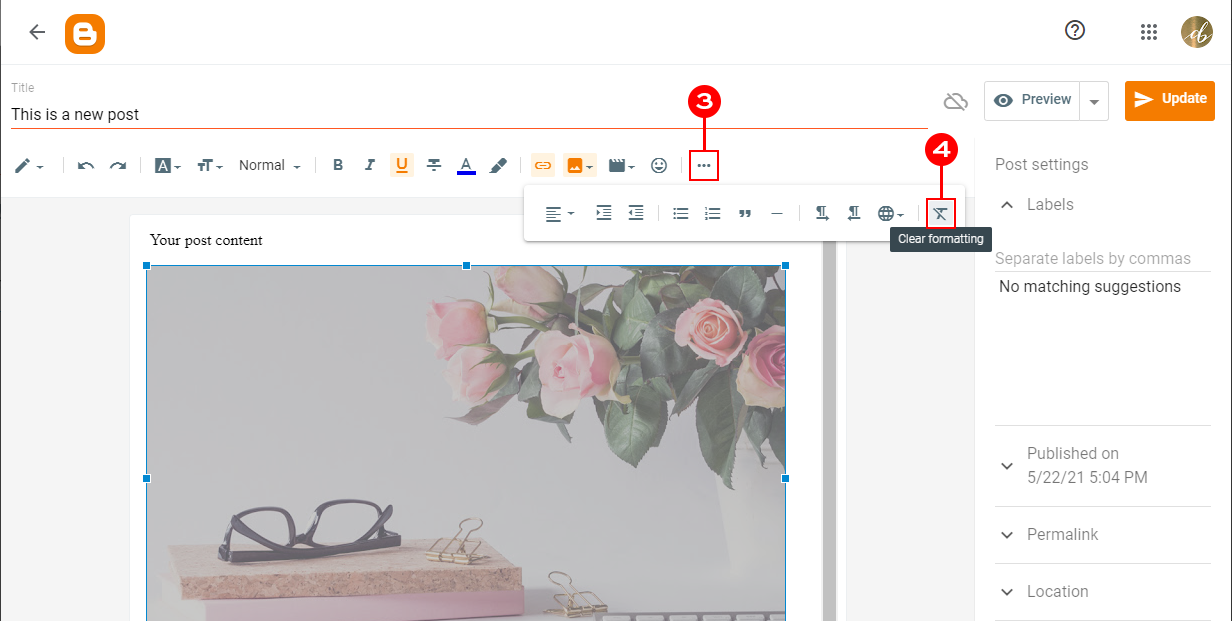
With the new Blogger dashboard, you need to use the ‘Clear formatting’ button to remove the link from the image and make it unclickable. To do so, click the last button on the right side of your toolbar just above the post area. If you do not see the crossed-out T letter there, click on the three dots icon to see all options.
Yep, it’s really that simple! You just made your blogger images unclickable. Enjoy your safely uploaded photos. As always, if you run into any questions, don’t hesitate to ask them in the comments.
Looking for more Blogger Tips & Tricks? Browse our tutorial library.


