")

Ever thought about starting your own blog or website? It’s a great way to express yourself, connect with others, or even grow a business. But let’s be real, the whole process can seem a bit daunting. Don’t worry, I’ve got you covered! This post walks you through the key steps, making the journey from idea to online reality much easier. Learn how to start a website or blog in 4 quick steps!
This tutorial will walk you through how to launch a self-hosted WordPress site on Bluehost (our preferred web host) in 3 simple steps.
How to start a blog or website
I know what you’re thinking: “I’m not techy enough,” or “I don’t have the time.” But trust me, starting a blog or website is much easier than you think. This post breaks down the process into manageable chunks, so you can take it one step at a time, at your own pace. No coding skills or endless hours are required!
Step 1 – Find a space for your new site
Think of a website or blog like building a house. First things first, you need some land, right? Online, that land is called hosting. It’s basically your little slice of the internet where your website lives, and you usually rent it out for a monthly or yearly fee.
To get your hosting in place, head to Bluehost and click on that big blue button.

Note: receive exclusive pricing by signing up through this link.*
Step 2 – Select a plan
The “choice plus” plan is the most popular and really does give you the most bang for your buck, but if you want to start with the “basic” plan due to limited funds, know you can always upgrade in the future if needed.

If you haven’t thought about what you want to call your blog, now’s the time.
Next up, you’ll need a domain name – think of it like your website’s address. If you don’t have one already, no worries! You can easily create one. It’s how people will find your site and remember it. Ideally, your domain name should match your blog’s title (like ours is Designer Blogs, so our domain is www.designerblogs.com). If your dream domain is already taken, try playing around with variations of your title – the system will usually give you some suggestions.

Already have a domain you love? Check the box ‘I want to use a domain I already own‘!
RELATED: 5 Blog Investments Worth Making (read this for tips on choosing a killer domain)
Review your cart
Now check your package details and add extras. You do not really need any of them if you start your site, so do not feel pressured to check all the boxes.
Keep your shopping cart simple. All you really need right now is the hosting and a domain (if you’re getting a new one). Those other “free” goodies? They might seem tempting, but they’ll probably cost you later on when the free trial runs out. Trust me, you can always add them later if you need them.

Click the ‘Continue to Checkout’ button and enter your account information. Be sure to use a working email address because this is where your login info will be sent.

Finally, enter your billing information, confirm that you’ve read the fine print, and hit the ‘Submit Payment’ button.
Your hosting account will now be in place.
Follow the instructions on your screen to set up your Bluehost login details and install your new WordPress. Remember to note all the logins and passwords in a safe place, as you will need them later!
Step 3 – Open WordPress
If you follow all the steps, Bluehost will automatically install WordPress for you, and you can start working on your new blog right away.
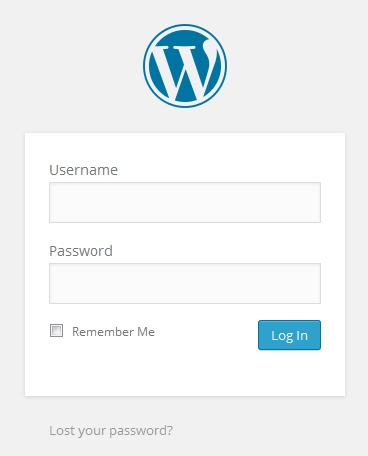
You can log into your site by going to:
www.yourdomain.com/wp-admin (“yourdomain.com” being your own personal domain).
This will bring you to the login area on the backend of your site. Bookmarking your login page so you can easily access it when you need to log in is a good idea.
Enter the login info you wrote down from the previous step and then click “Log In.”
RELATED: How to Change Logo on WordPress Login Page
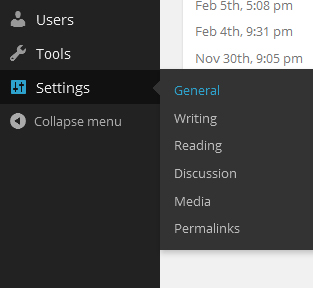
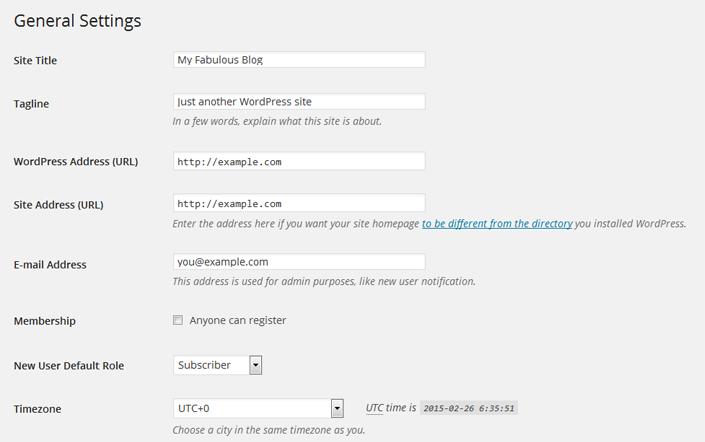
First, let’s get your basic settings in place, so in your dashboard, go to “Settings” and then “General.”
Enter your site title and tagline here and correct other information if needed. Once ready, save all the changes.
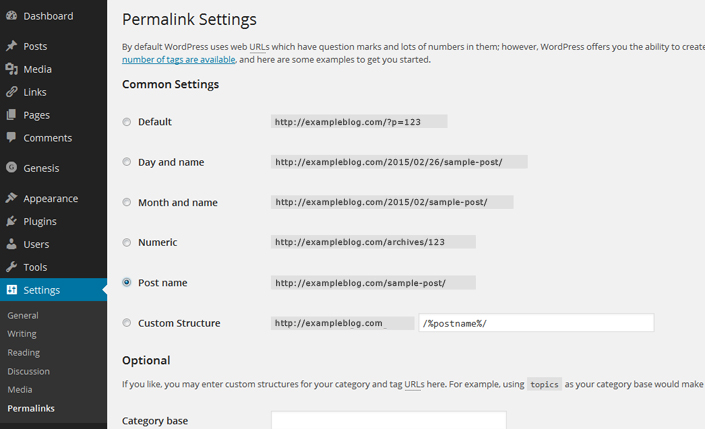
Now, I highly recommend that you change your permalink settings for SEO purposes. To do this, go to “Settings” and then “Permalinks,” select the “Post name,” and click “Save Changes.”
I also recommend you click through each option under “Settings” to get the additional options set up like you want. You can also visit our WordPress Tutorials page for additional help in setting up other areas of your site.
Step 4 – Make it Gorgeous!
You have learned how to start your own website, now it’s time to make it look fabulous! You have a few options when it comes to the look of your site. You can use one of the free generic themes that are included with your WordPress install. Go to “Appearance” and then “Themes” to find them. As you can see, there isn’t much to look at, and there isn’t much variety, but if it’s not within your budget to spend money on a theme right now, then it’s a good place to start.
Get something more unique
You can hire a blog design company (like Designer Blogs!) to create a fabulous design for you. We offer very affordable WordPress Themes or if you want a one-of-a-kind blog design, you can request a quote for a custom design.
Explore Our Latest Theme Additions
With either option, we take care of the design work (including installation), so you don’t have to worry about a thing!

We hope you’ve found this tutorial helpful and, by now, you know exactly how to start a website or blog. If you have any questions, please comment below, and we’ll do our best to answer!
*Disclaimer: this post contains affiliate links, which means your clicks and purchases help support Designer Blogs at no extra cost to you. We only recommend products we absolutely love.


