
Are you a new blogger or a seasoned Blogspot or WordPress.com blogger wanting to switch your blog over to self-hosted WordPress? Or, are you wanting to build a website? Then you’ve come to the right place. In this post, we will show you how to start a blog.
This tutorial will walk you through you how to launch a self-hosted WordPress site on Bluehost (our preferred web host) in four simple steps.
Bluehost is one of the largest and most trusted web hosting provider’s out there. They have very affordable pricing, stellar customer service, are incredibly reliable, and they install WordPress automatically! Follow these four simple steps and you’ll have a self-hosted WordPress site set up in a jiffy.
How to start a blog
Step 1: Domain Hosting
The first step is to get your hosting in place, so head on over to Bluehost and click on that big green button.
Note: receive exclusive pricing by signing up through this link.*

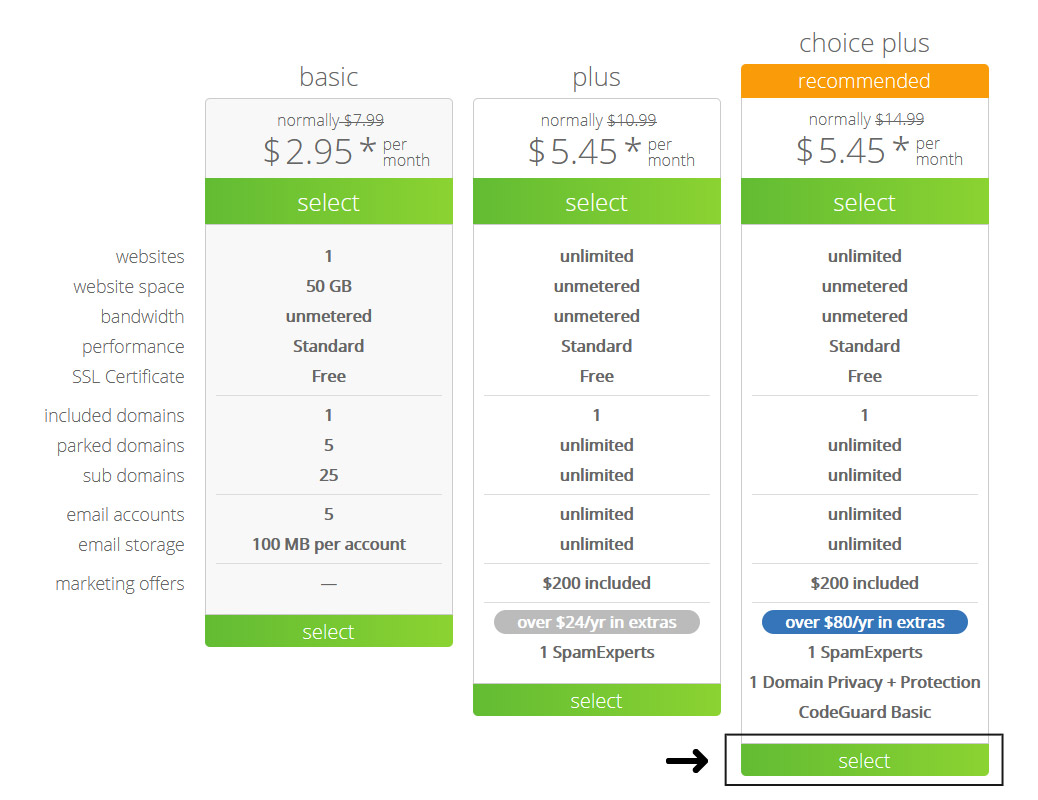
Select a plan
The “prime” plan is the most popular and really does give you the most bang for your buck, but if you want to start with the “basic” or “plus,” plans due to limited funds, know you can always upgrade in the future if needed.
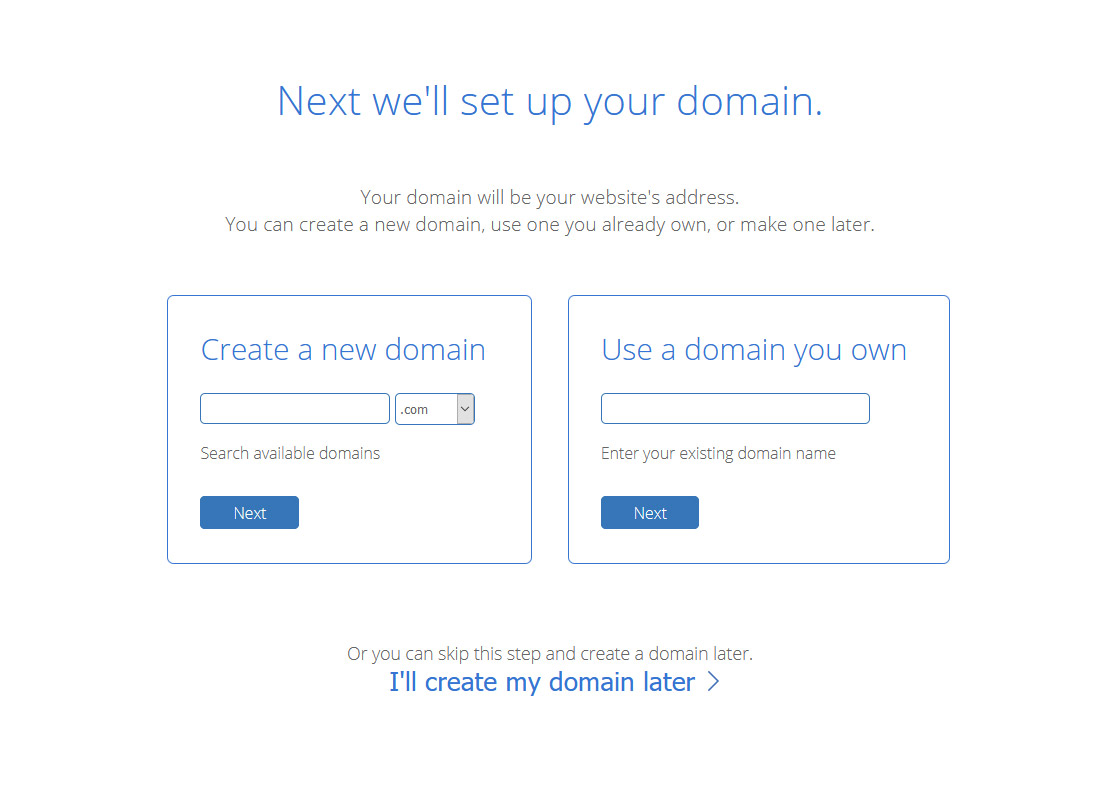
If you haven’t thought about what you want to call your blog, now’s the time.
Try your best to match your domain to the title of your blog (e.g. our site name is Designer Blogs, so we chose the domain www.designerblogs.com).
If the domain you are wanting isn’t available, try using different variations of your title (it will offer you some suggestions). If you already own a domain that you’d like to use, enter it in the area provided.
RELATED: 5 Blog Investments Worth Making (read this for tips on choosing a killer domain)
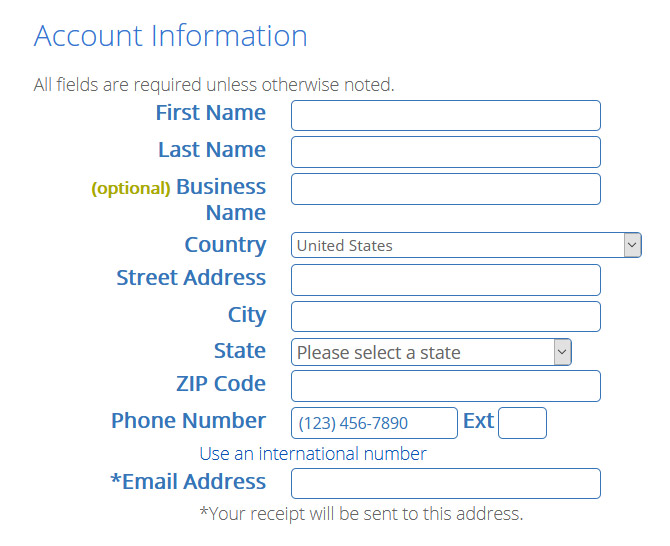
Follow the instructions and enter in your account information. Be sure to use a working email address because this is where your login info will be sent.
Now select your package details. A few extras you might consider adding are:
- Domain Privacy + Protection: this protection keeps your personal information private (note: you will only see this option if you registered a new domain above. It will not show up if you used a transferred domain). This option is FREE with plus plan.
- Codeguard Basic: this allows you to create and restore backups of your account’s files, databases, email accounts, etc. This option is FREE with plus plan.
- Bluehost SEO Tools: tools to help you get better ranks in web browsers.
- SiteLock Security – Find: this automatically scans your website for malware to ensure it is not being blocked or spammed and helps give your business instant credibility and trust in the eyes of your customers.
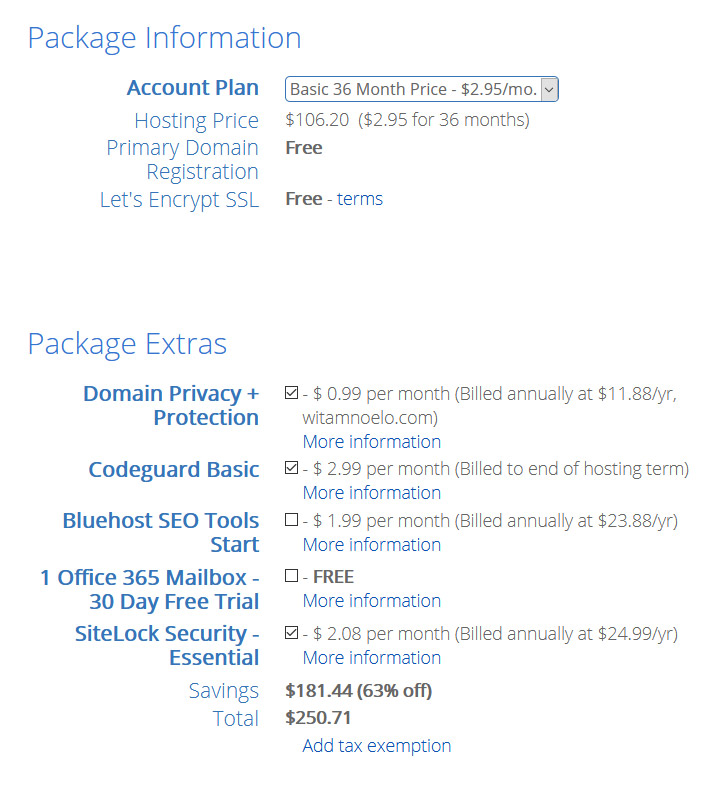
Finally, enter in your billing information, confirm that you’ve read the fine print, and hit submit.
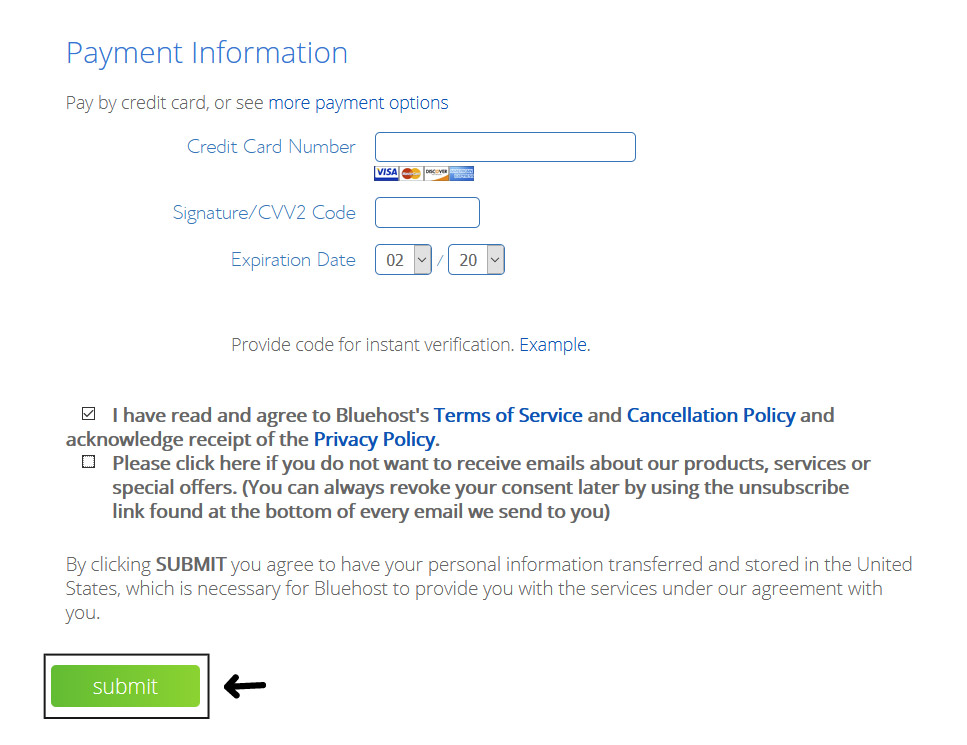
Your hosting account will now be in place.
Step 2: Activate Your Domain & Choose Password
Once you hit submit you’ll be asked if you want to add any upgrades or extras. Just skip them by clicking “no thanks” at the bottom of the screen.
Now you’ll need to log into your email and locate the emails sent to you from Bluehost.
If you don’t see them in your inbox, check your spam folder.
It’s important to locate these because they contain your login information.
In one of those welcome emails, you will be asked to activate your domain (if you chose a new one). Open the email and click on the button found inside to complete the activation process.
At the end of your purchase, you’ll be welcomed and asked to choose a password. Click the “create your password” button and choose a secure password.
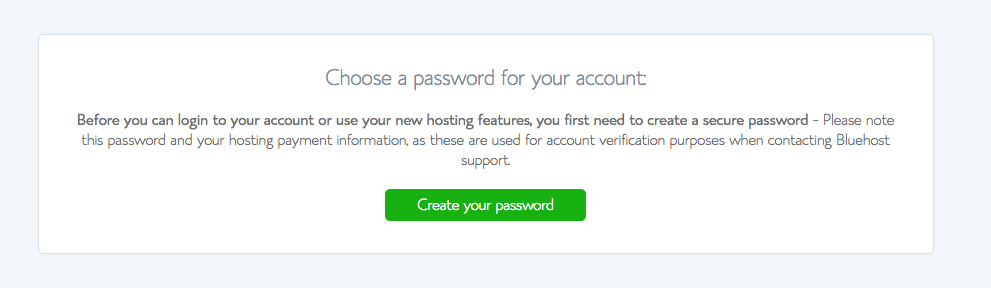
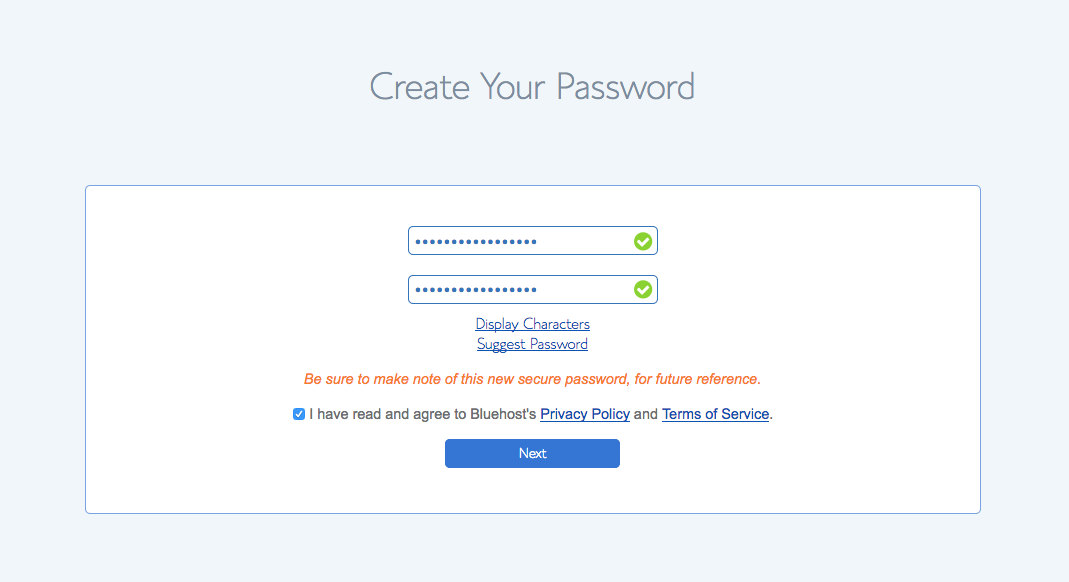
This password will allow you to login and get started.
Step 3: Open WordPress
Bluehost automatically installs WordPress for you so you can start working on your new blog right away.
You can log into your site by going to yourdomain.com/wp-admin (“yourdomain.com” being your own personal domain).
This will bring you to the login area on the backend of your site. It’s a good idea to bookmark your login page so you can easily access it when you need to log in.
Enter in the login info you wrote down from the previous step and then click “Log In.”
RELATED: How to Change Logo on WordPress Login Page
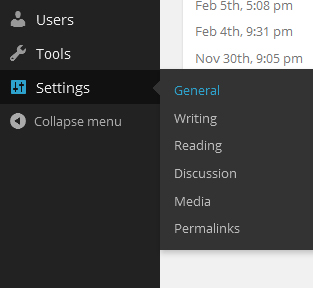
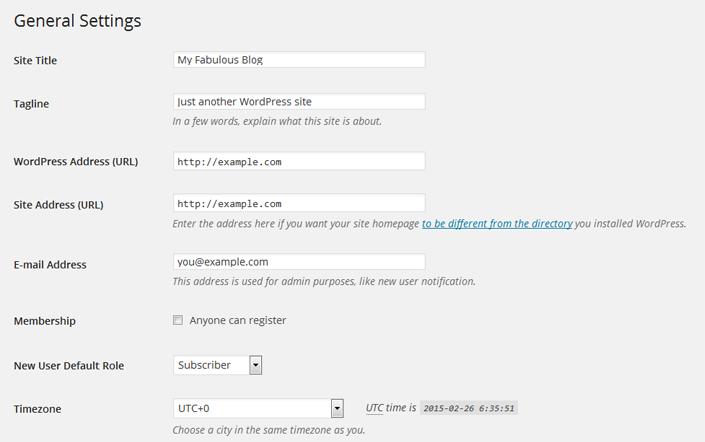
First, let’s get your basic settings in place, so in your dashboard go to “Settings” and then “General.”
Enter in your site title, tagline, url, email and the other information it asks for and click “Save Changes.”
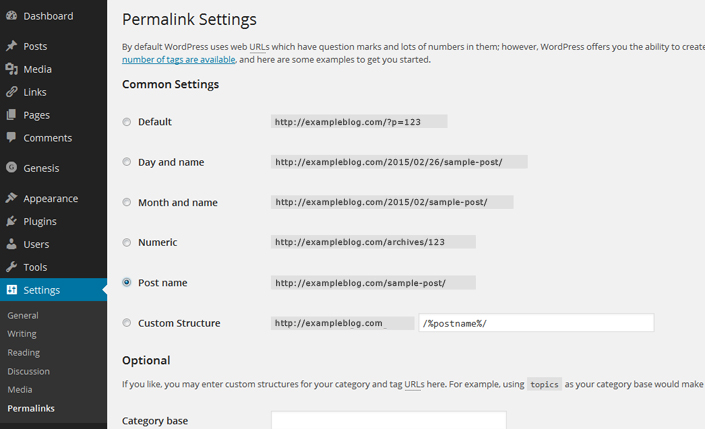
Now I highly recommend that you change your permalink settings for SEO purposes. To do this go to “Settings” and then “Permalinks” and then select the “Post name” option and click “Save Changes.”
I also recommend that you click through each of the options under “Settings” to get the additional options set up like you want.
You can also visit our WordPress Tutorials page for additional help in getting the other areas of your site set up.
Step 4: Make it Gorgeous!
Now it’s time to get your blog looking fabulous! You have a few options when it comes to the look of your site:
1) You can use one of the free generic themes that are included with your WordPress install. Go to “Appearance” and then “Themes” to find them. As you can see, they aren’t much to look at and there isn’t much variety, but if it’s not in your budget to spend money on a theme right now, then it’s a good place to start.

2) You can hire a blog design company (like Designer Blogs!) to create a fabulous design for you. We offer very affordable WordPress Themes or if you want a one-of-a-kind blog design, you can request a quote for a custom design. With either option, we take care of the design work (including install) so you don’t have to worry about a thing!

We hope you’ve found this tutorial helpful and by now you know exactly how to start a blog. If you have any questions, please leave a comment below and we’ll do our best to answer!
*Disclaimer: this post contains affiliate links, which means your clicks and purchases help support Designer Blogs at no extra cost to you. We only recommend products we absolutely love.


